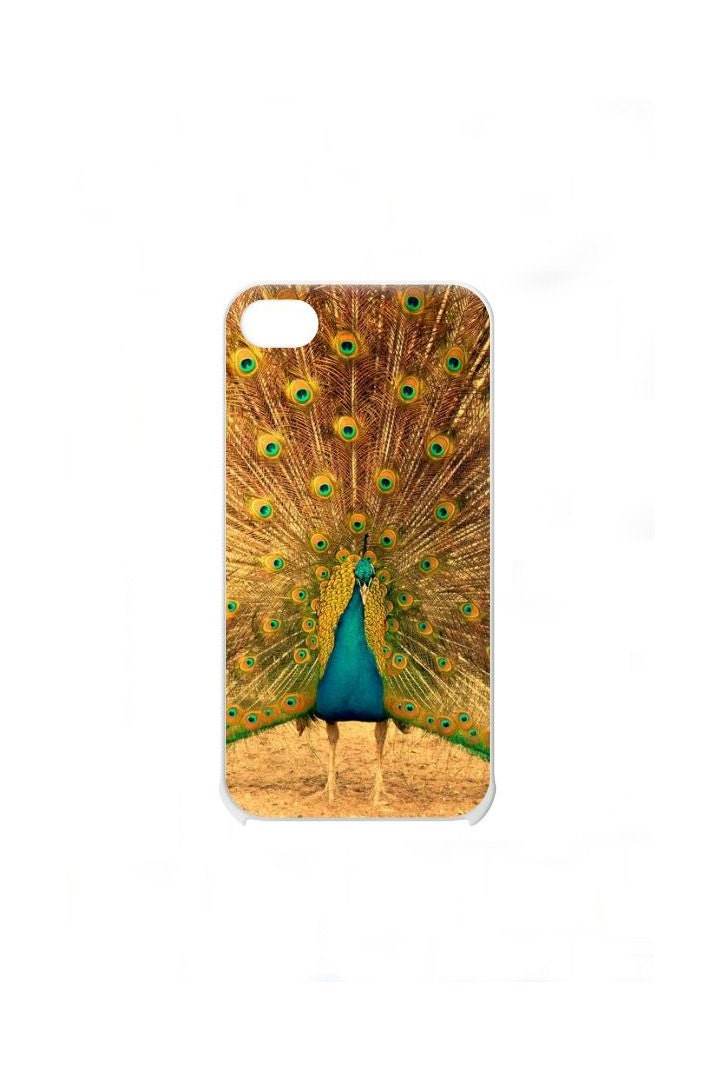
Well I hope everyone is coming out of winter on a good note. I am getting back to my shop at long last and it's been wonderful. :) I've had a busy week and the weekend wasn't an exception. Before I get down to the real reason for this post I just want to let you all know I'm having a sale to celebrate my Etsy shop's grand re-opening! Just use the coupon code WELCOMEBACK when you check out and you'll get 10% off anything in my shop including made to order and custom items and anything else listed. :)
Yesterday was my dad's birthday. I took it upon myself to make him a cake. But not just any old cake. Oh no..this one was going to be themed! Anyone who knows me can tell you I'm not that great of a chef and I'm so-so at baking. Visually my food may not look spectacular or noteworthy but I pride myself on at least making sure it tastes great. When it comes to baking I like doing creative things. The last few years I have done special Easter themed brownies (seen below).


I thought that since I have so much fun doing these brownies I could try my hand at doing a fancy sort of cake. A shaped one. An epic one!
My family, as you know, is big on Halloween. All of us have a nickname those on the Halloween forums we belong to know us by. My dad's just so happens to be Vlad. He's made props before using the bat logo associated with that name and Vampires so I though it would be awesome to make him a bat shaped cake.
The original idea stemmed around having a two layer cake but shaping the top layer into the bat. Simple right? Yeah. Sure. We'll go with that!
So here we go. A short little step by step (with photos) on how to make a bat shaped cake. Just remember: I don't claim to be an expert cake designer!
How to Make a Bat Shaped Cake Mini Tutorial
Step one: Choose your poison. For my cake I decided on a butter cake. Just a store brand, off the shelf, box of mix that required the added stick of butter, three eggs, and 2/3s cup of water. Mix on medium or 450 strokes by hand and viola! You can pick any sort of cake flavor you would like though. :)
Step two: Evenly distribute the cake mix into two round cake pans, 8 or 9 inch in size. I think mine were 9 inches. Then pop them in the oven and bake until a toothpick inserted in the center comes out clean. Mine baked for about 25 minutes to a half hour.
Step Three: Allow your cake to cool in the pans until they are able to be handled by hand. Then remove the two layers and place them on SEPARATE plates. Pop the plates into the refridgerator for about an hour or so. This is supposed to help reduce the amount of crumbs and whatnot when cutting your cake and spreading the icing on exposed parts of the cake that will be showing after you've cut your shapes.
Step Four: Pick our your icing. For my bat cake I used whipped white icing and regular chocolate. Make sure you stir the icing in the cans before applying. It helps with spreadability!
Step Five: Once your cake layers have sat in the fridge for about an hour or so pull them out and grab a sharp edged knife. This will help make cutting your cake shape easier. I used a serated steak knife. Next I just traced a very light outline of my bat's body on one of my cake layers. I did NOT cut the cake yet!
Since I am terrible at evenly distributing cake batter into pans I chose the thinner, smaller layer to make my bat shape out of. Think of the body shape as being a snowman with only two sections. Make sure to include two pointed ears on top!
Step Six: Once you have a tentative outline on the top of the cake you're ready to start cutting. Try and follow your outlines as best as possible! Mine looked like this when I finished cutting it:

You should now have three parts for your bat: two wing sections and the body. The wings will be too large for the cake so you will need to cut them down further. You can just wing it on the one wing by freehand cutting it. Then to get a matching opposite wing place the two wing pieces together (with the top golden parts touching) and cut off the extra pieces of the other wing by following the edges of the first one. Keep cutting until you've made the wing parts small enough to fit on top of your cake and so they don't stick off too far (no more than a quarter of an inch).
Step Seven: Ice the bottom layer of your cake. For this I used my white whipped icing. Once done this is what it should look like:

Step Eight: Time to place your bat pieces on top of your iced bottom layer. Place the body on top first and make sure to center it as best you can. Make sure to try not to have the ears stick off the top of the cake too much. DO NOT PUT THE WINGS ON YET. I did this and had to pull them off the very sticky icing so I could properly ice the body of the bat. You need to ice ALL the sides and edges of the body and the wings would get in the way.
So ice the body of your bat first! Be careful when icing the ears. The tips are going to be thin and prone to crumbling off. It took me awhile but I was able to slowly ice them with little, tiny dollops of icing until none of the cake was showing from underneath it. Try also not to press to hard or you could risk breaking the ears off completely.
My cake looked like this before I had to pull the wings off and ice the bat's body. Make sure you DON'T DO THIS:

I used chocolate icing for my bat so he would be "black" or in this case brown.
Step Nine: Now it's time to add your wings and ice them. You may find it helpful to hold one side of the wing as you ice the edges to keep from pushing it around on the white icing or from sliding. It shouldn't slide too much, if at all, but it helps get the icing to spread better by stabilizing the wing as you go with your fingers.
Make sure to ice in along the sides of the wing closest to the body so none of the underlying cake parts are showing! I went the extra step and iced under the parts of the wings that jutted off the edge of the cake as well.
My cake looked like this once I was finished icing the bat:

Step Ten: Time to add a face and any other details you would like. I choose to just use plain white icing that was leftover to do my detailing. I used a small plastic zip lock baggy with one of the bottom corners snipped off to use as a piping bag. You could also use an actual icing piper if you have them.
Two little dots for the eyes and a sad attempt at a mouth later....:


Now just place your cake in a cool place (I put mine in the fridge) because there is no way this is going to fit under a cake plate until people have eaten the extremities off. Haha. :D
Anyway, that is my attempt at making a bat cake. Thankfully my dad loved it. You can't get something like that at the store!
I hope you all have a fabulous rest of your weekend and enjoyed reading. Feel free to comment if you've got questions. I didn't do a very good job at taking more photos. Next time....