Showing posts with label art. Show all posts

Monday, June 23, 2014

More Music Mondays - June 2014

It's been a while since I last updated. My apologies! Things have been rather hectic. Threaded Chains appeared at the Skyline Lakes Fire Department in Ringwood, NJ for their annual Mother's Day weekend Craft Show. It was a huge success! Much like last year the weather forecast was for severe thunderstorms, rain, basically anything other than your ideal weather for outdoor craft show shopping. But by some small miracle the morning of the forecast completely turned around. While it was incredibly hot and humid the turnout was fantastic. I am hoping next year will be even better. I've got a few pics I snapped of the Threaded Chains booth that I'll post up within the next few days. :)

Other than that I've been working hard to try and get myself outside on sunny days to take photos of new items both for jewelry and vintage alike. It seems that much like our winter where it snowed almost every day our summer is in store for much the same only with rain. We are in for a humid, muggy summer...or so I hear.

If you haven't stopped by the shop lately please come take a look. A lot of items have been updated with brand new photos. As well new vintage and jewelry items are up. And there is just one week left to get 15% off your vintage item purchases of $10 or more. Be sure to enter promo code Vintage15 at checkout!

Now without further ado here is what I'm listening to this lovely, sunny Monday. :)


One further thing I want to mention is I am currently working on thinking up some things to celebrate Christmas in July which is also fast approaching. Keep your eyes peeled for that as well! :)

Sunday, March 9, 2014

Creative Cake Baking + Glad to be Back!

My goodness it's been so long. Almost a year...I really should hire someone to stand over me and smack me with a ruler whenever I neglect my blog!

Well I hope everyone is coming out of winter on a good note. I am getting back to my shop at long last and it's been wonderful. :) I've had a busy week and the weekend wasn't an exception. Before I get down to the real reason for this post I just want to let you all know I'm having a sale to celebrate my Etsy shop's grand re-opening! Just use the coupon code WELCOMEBACK when you check out and you'll get 10% off anything in my shop including made to order and custom items and anything else listed. :)

Yesterday was my dad's birthday. I took it upon myself to make him a cake. But not just any old cake. Oh no..this one was going to be themed! Anyone who knows me can tell you I'm not that great of a chef and I'm so-so at baking. Visually my food may not look spectacular or noteworthy but I pride myself on at least making sure it tastes great. When it comes to baking I like doing creative things. The last few years I have done special Easter themed brownies (seen below).


I thought that since I have so much fun doing these brownies I could try my hand at doing a fancy sort of cake. A shaped one. An epic one!

My family, as you know, is big on Halloween. All of us have a nickname those on the Halloween forums we belong to know us by. My dad's just so happens to be Vlad. He's made props before using the bat logo associated with that name and Vampires so I though it would be awesome to make him a bat shaped cake.

The original idea stemmed around having a two layer cake but shaping the top layer into the bat. Simple right? Yeah. Sure. We'll go with that!

So here we go. A short little step by step (with photos) on how to make a bat shaped cake. Just remember: I don't claim to be an expert cake designer!

How to Make a Bat Shaped Cake Mini Tutorial

Step one: Choose your poison. For my cake I decided on a butter cake. Just a store brand, off the shelf, box of mix that required the added stick of butter, three eggs, and 2/3s cup of water. Mix on medium or 450 strokes by hand and viola! You can pick any sort of cake flavor you would like though. :)

Step two: Evenly distribute the cake mix into two round cake pans, 8 or 9 inch in size. I think mine were 9 inches. Then pop them in the oven and bake until a toothpick inserted in the center comes out clean. Mine baked for about 25 minutes to a half hour.

Step Three: Allow your cake to cool in the pans until they are able to be handled by hand. Then remove the two layers and place them on SEPARATE plates. Pop the plates into the refridgerator for about an hour or so. This is supposed to help reduce the amount of crumbs and whatnot when cutting your cake and spreading the icing on exposed parts of the cake that will be showing after you've cut your shapes.

Step Four: Pick our your icing. For my bat cake I used whipped white icing and regular chocolate. Make sure you stir the icing in the cans before applying. It helps with spreadability!

Step Five: Once your cake layers have sat in the fridge for about an hour or so pull them out and grab a sharp edged knife. This will help make cutting your cake shape easier. I used a serated steak knife. Next I just traced a very light outline of my bat's body on one of my cake layers. I did NOT cut the cake yet!

Since I am terrible at evenly distributing cake batter into pans I chose the thinner, smaller layer to make my bat shape out of. Think of the body shape as being a snowman with only two sections. Make sure to include two pointed ears on top!

Step Six: Once you have a tentative outline on the top of the cake you're ready to start cutting. Try and follow your outlines as best as possible! Mine looked like this when I finished cutting it:

I removed the little top piece between the ears so you could better see my body shape and the head.

You should now have three parts for your bat: two wing sections and the body. The wings will be too large for the cake so you will need to cut them down further. You can just wing it on the one wing by freehand cutting it. Then to get a matching opposite wing place the two wing pieces together (with the top golden parts touching) and cut off the extra pieces of the other wing by following the edges of the first one. Keep cutting until you've made the wing parts small enough to fit on top of your cake and so they don't stick off too far (no more than a quarter of an inch).

Step Seven: Ice the bottom layer of your cake. For this I used my white whipped icing. Once done this is what it should look like:


Step Eight: Time to place your bat pieces on top of your iced bottom layer. Place the body on top first and make sure to center it as best you can. Make sure to try not to have the ears stick off the top of the cake too much. DO NOT PUT THE WINGS ON YET. I did this and had to pull them off the very sticky icing so I could properly ice the body of the bat. You need to ice ALL the sides and edges of the body and the wings would get in the way.

So ice the body of your bat first! Be careful when icing the ears. The tips are going to be thin and prone to crumbling off. It took me awhile but I was able to slowly ice them with little, tiny dollops of icing until none of the cake was showing from underneath it. Try also not to press to hard or you could risk breaking the ears off completely.

My cake looked like this before I had to pull the wings off and ice the bat's body. Make sure you DON'T DO THIS:


I used chocolate icing for my bat so he would be "black" or in this case brown.

Step Nine: Now it's time to add your wings and ice them. You may find it helpful to hold one side of the wing as you ice the edges to keep from pushing it around on the white icing or from sliding. It shouldn't slide too much, if at all, but it helps get the icing to spread better by stabilizing the wing as you go with your fingers.

Make sure to ice in along the sides of the wing closest to the body so none of the underlying cake parts are showing! I went the extra step and iced under the parts of the wings that jutted off the edge of the cake as well.

My cake looked like this once I was finished icing the bat:


 Step Ten: Time to add a face and any other details you would like. I choose to just use plain white icing that was leftover to do my detailing. I used a small plastic zip lock baggy with one of the bottom corners snipped off to use as a piping bag. You could also use an actual icing piper if you have them.


Two little dots for the eyes and a sad attempt at a mouth later....:
Now you should have what looks like the ghost of a dead cartoon cat with a mustache! Darn....Might as well as one final flourish:


A bow-tie with a dried cranberry cluster for the center.


Now just place your cake in a cool place (I put mine in the fridge) because there is no way this is going to fit under a cake plate until people have eaten the extremities off. Haha. :D

Anyway, that is my attempt at making a bat cake. Thankfully my dad loved it. You can't get something like that at the store!

I hope you all have a fabulous rest of your weekend and enjoyed reading. Feel free to comment if you've got questions. I didn't do a very good job at taking more photos. Next time....


Sunday, April 28, 2013

Craft Fairs + Giveaway + Threaded Chains in Fundraisers

Hey everyone! It's been my goal to try and write a new blog post every Sunday but as you can see I haven't exactly met that goal. LOL! Things were extraordinarily hectic the week leading up to my first craft show in March. Afterward I had a complete burnout for the majority of that month. But I'm working hard now at trying to get my name out there again and have been busy searching out more shows to attend. :)

Threaded Chains Giveaway

Let me first start with some big news. I reached my goal of 400 Facebook fans just two weeks ago! Since then I've gained an additional 50+ followers and as I promised on my page I am hosting a giveaway to celebrate!

The catch is that you must be a Threaded Chains FB fan in order to be eligible to win. I will award up to 3 prizes depending on the amount of entries. If there are less than 10 only one winner will be chosen. If I get 10 or more  there will be 3 prizes awarded. :)

Hop on over to the Threaded Chains FB Page to read up on the rules. The giveaway starts Monday April 29th and ends on Friday May 4th!

Auctions & Donations from Threaded Chains

Sometime before my March craft show I was contacted by the New Jersey Passaic County CASA organization. They wanted me to donate some of my jewelry to their Tricky Tray & Dinner fundraiser that will be held June 11th (a Tuesday). I gladly accepted and I will be donating about $50 worth of jewelry to the Tricky Tray. If you live in or near Passaic County in northern New Jersey and are interested in attending this fundraiser please head over to the Passaic County CASA website for information. Tickets are $40 but the money goes to a great cause. You get a full sheet of raffle tickets, a special door prize ticket, and also dinner for the admittance fee. My jewelry will be in a basket all on it's own so please be certain to check it out! :)

Rosie the Cat's Fundraiser Auction:

Lastly for fundraisers I stumbled on a post in my news feed on FB the other day. Through one of my fellow crafters I found out about a beautiful tortoiseshell 4 month old cat named Rosie. She has luxating patella (a rare condition for cats where the knee caps rotate out of place) which can cause pain and in Rosie's condition will eventually lead to her losing both of her back legs at some point in her life. To prevent this there is a surgery that costs $3,000 PER leg. Being an animal lover I am going to be donating several items to an Auction being held by Rosie's owner on a FB page made specifically for Rosie's cause. The auction will be held on Rosie's FB page Wednesday May 15th through Sunday of the same week.

Please click on the below links to donate to Rosie's cause, attend the auction, or just to get more information:

Rosie's Auction Event page

Rosie's FB Page

The Auction Folder (This is where the items will be up for you to bid on starting May 15th)

Rosie's Auction Group (This is a group ONLY for people donating items to the auction, you must join to see information on donating)

Craft Fairs

Last but not least I have been super busy trying to find new craft shows to attend in my area. I found a lot but I have to tidy up some things for my business before I can attend them. However, that hasn't stopped me from scouting out venues in the meantime. :)

Today I went to the Adorno Father's Fair in Ramsey, NJ (in Northern Jersey in Passaic County). I wasn't sure what to expect because this venue has both Crafters/Artists, Re-sellers, and Antique sellers. I met so many fellow crafters though and made a few purchases. I had so much fun doing some in person networking and exchanging my business cards when appropriate of course. ;)

Most of the handmade sellers I spoke with told me this was their first time at the show but one did tell me she was informed from other vendors that they do very well at this particular show. I hope to be a part of it in October but if not I'll at least attend as a customer and check out the tables and maybe meet some new friends again.

My purchases for the day came from one lovely seller who redecorates recycled bottles with gorgeous stones, shells, and pebbeles for a nifty upcycled vase or shelf decoration. She also had these smooth, oval somewhat flat stones drawn on with stained glass paint. There were a few tiny ones that I couldn't resist snatching up. They had some inspirational things written/drawn on them that I just had to have. I also made a purchase from Soaps for a Cause, a nice girl and guy were attending the booth selling handmade all natural soaps. A portion of their proceeds goes to helping Uganda get clean water and help with sanitation issues. As well the little info card that comes with the soap is loaded with real seedlings. You just wet the paper, plant it, and herbs will grow. I love eco friendly! :D I bought a bar for my mother, who came to the event with me, as an early Mother's Day gift since she loves gardening. We have no idea what herbs will grow but we can't wait to see!

My last purchase was from two women attending a booth selling hot sauce. The one woman's son and the other's daughter started this little business called Heartbreaking Dawns. They were letting people sample the hot sauces on display and being a lover of spicy food I had to try it. I came back before I left the fair and bought their second hottest blend. It's made with ghost pepper and I can't wait to make buffalo chicken with it! Check out the Heartbreaking Dawns website for more info on their hot sauces. :)

Upcoming Fairs for Threaded Chains:

I have lined up one more show so far! I will definitely be attending the Lionshead Lake Arts/Crafts Fair in Wayne, NJ on May 4th. The show starts at 9 am and ends at 4 pm. If you live in or around Passaic County NJ please stop by and say hello! There is also going to be a Garage sale held the same day at the same location. So far there looks to be approximately 7 Crafts vendors with a total of 20 "booths" total including the garage salers. I hope to see you there! :) Checkout the Lionshead Lake website for information or directions.


That's all for now. I will keep everyone posted on any future events I attend. I also hope to be showcasing some sellers that I get to meet from these events. :)

Enjoy the rest of your weekend!

Follow my blog with Bloglovin

Tuesday, July 17, 2012

Whimsical Photography

As an artist I appreciate many aspects of art. I have always been more into drawing and within recent years creating handmade items like jewelry and accessories. But one thing I have a huge respect for is photography. It has always been an art form that has somewhat eluded me in the past. As time has gone on I continue to improve especially now that I must take crisp, clear photos of my jewelry and vintage items when I list them in my online studios and social networking sites.


I admit, I envy photographers that sell prints because it is something I have always wanted to do but never had the true talent to achieve. But this doesn't stop me from looking through shops and "ooh"ing and "ahh"ing over photos that grab my attention.


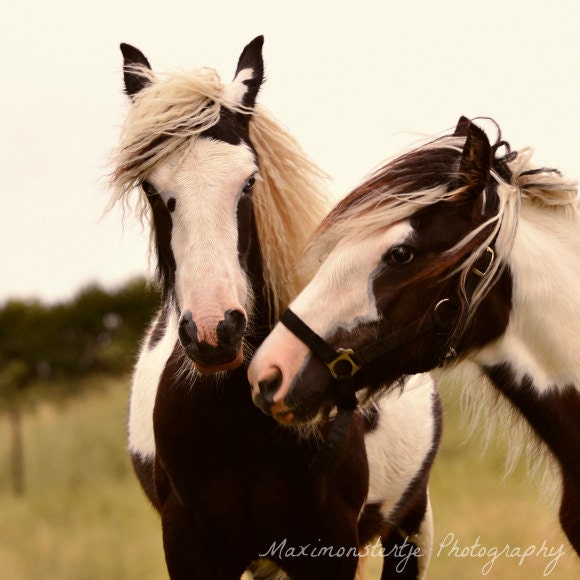
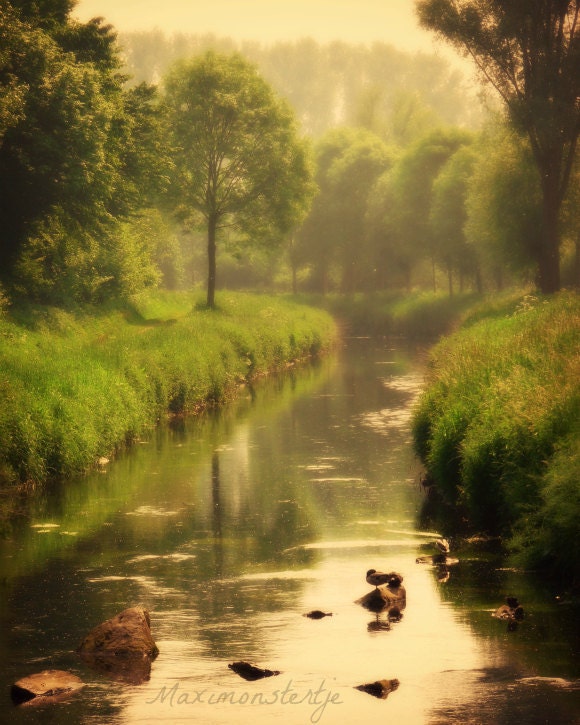
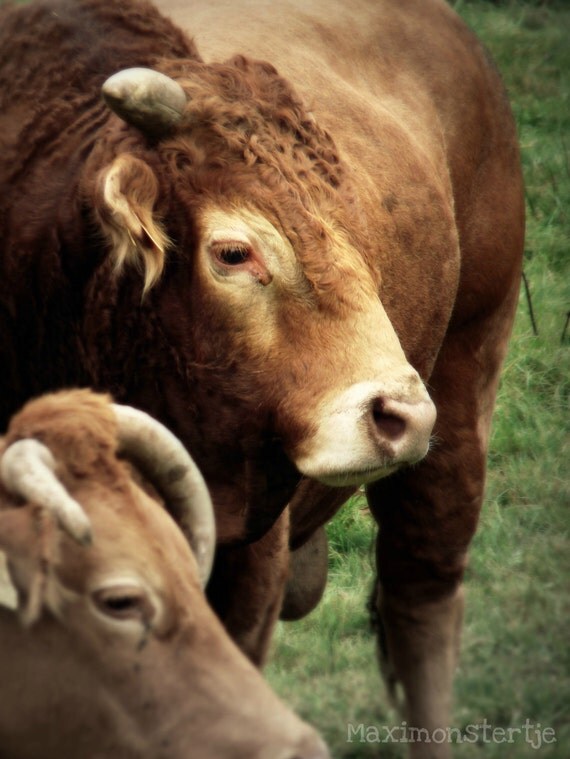
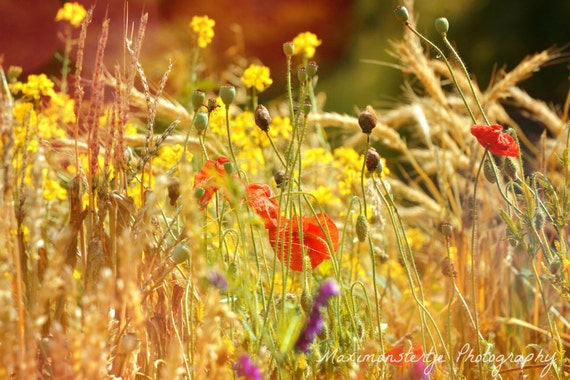
I really adore whimsical, and fantasy based or inspired artwork. But sometimes I can be pleasantly surprised and taken by imagery of very real life things or people.


At the end of the day though it always comes back to nature and animals.


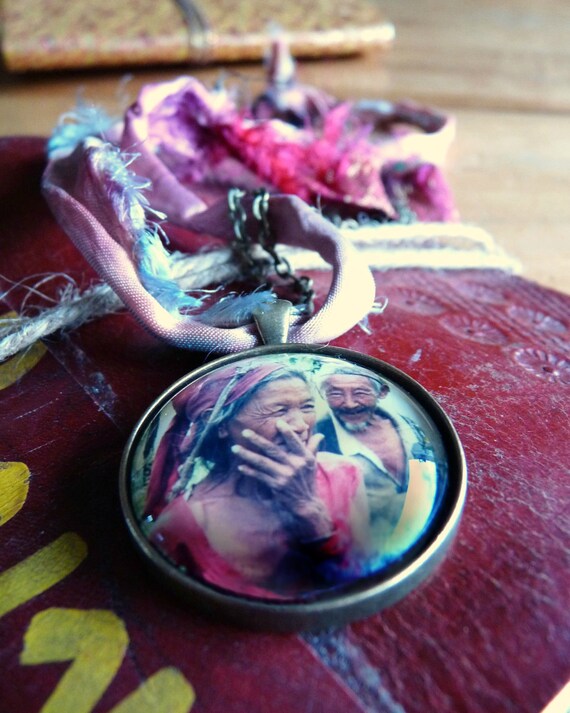
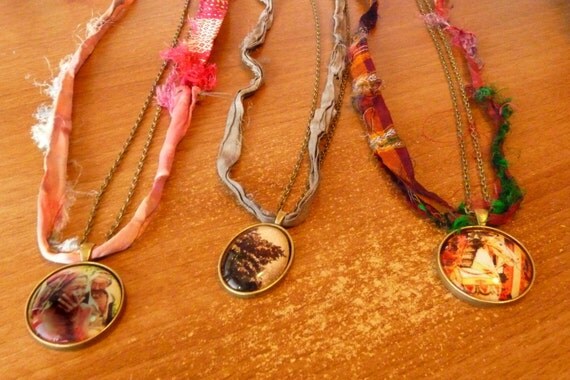
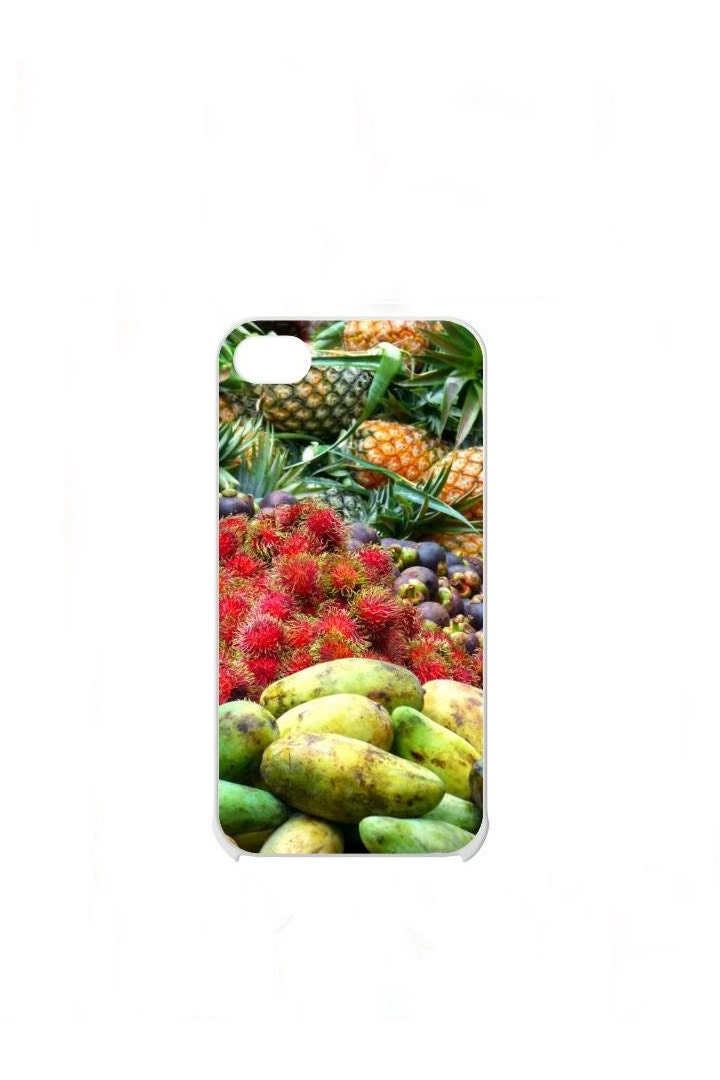
These images are just the very tip of the huge cache of gorgeous prints that Photographer and Artist Danny have to offer in their Etsy shop named Maximonstertje.

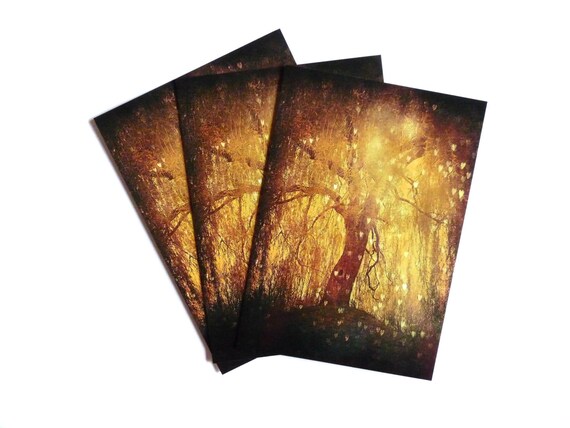
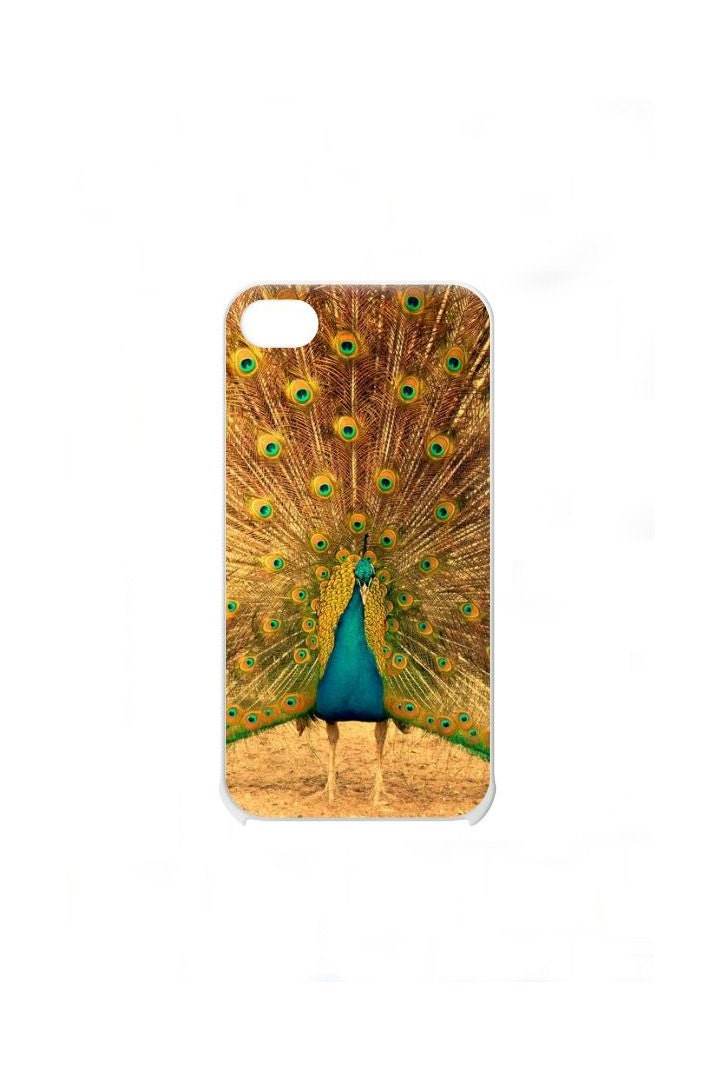
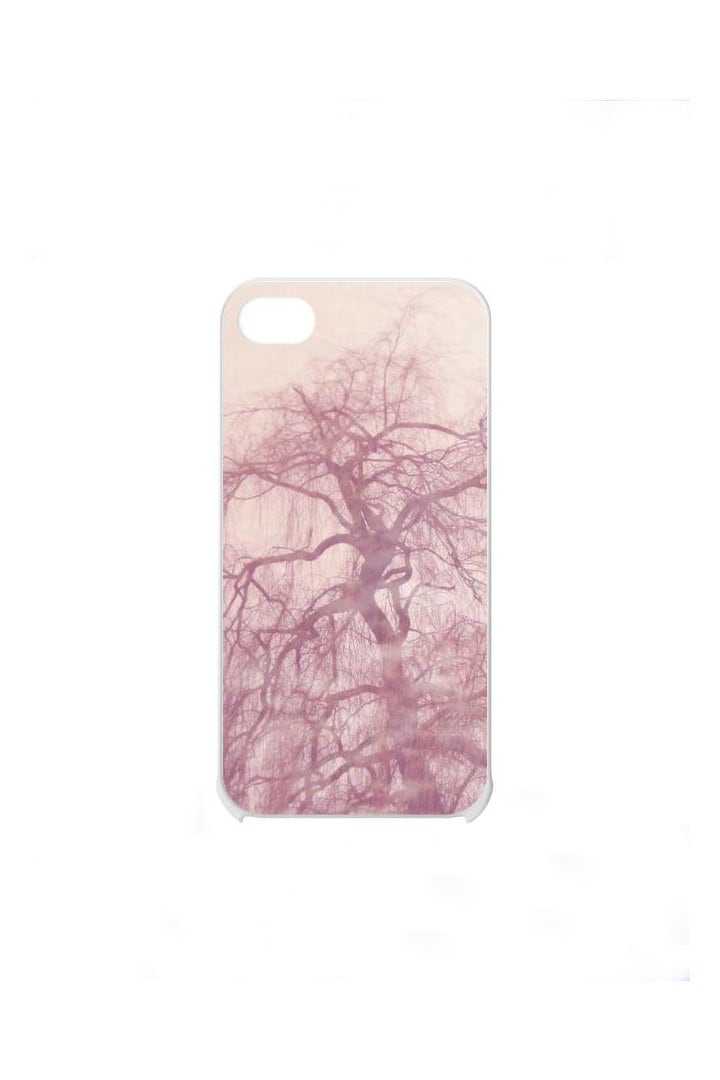
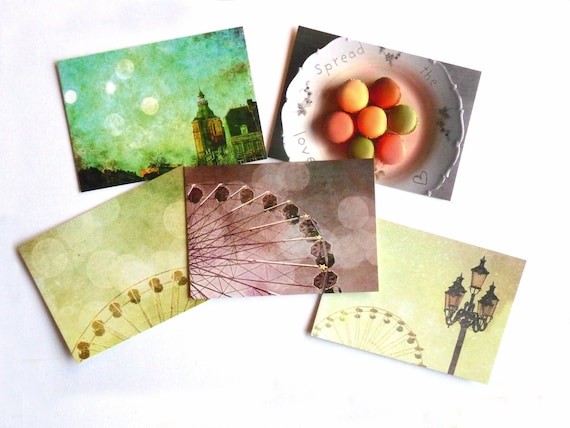
But she doesn't just offer prints. She also has a beautiful selection of jewelry, postcards, and even iPhone cases.


I am continually inspired by the artwork she lists and I am always eagerly awaiting her Facebook updates so I can catch sneak previews of her newest print.

Be sure to check out Maximonstertje Photography on:


I hope you all find her work as inspiring as I do. I am hoping to get a print or two from her to hang on the walls of my studio here at Threaded Chains.

And for the month of July she is offering FREE WORLDWIDE shipping! That's such an awesome deal. :) Just enter the code FREESHIP at checkout to get free shipping on your order.

May the rest of your day and week be filled with wonderful art, inspiration, and love.

~ Remmie